The democratization of music and content production has made professional-quality recording accessible to anyone with dedication and modest resources. Ten years ago, achieving broadcast-quality audio required tens of thousands of pounds in equipment and commercial studio space. Today, you can build a capable home recording studio for a fraction of that cost.
This comprehensive guide walks you through building a professional home studio, from selecting the right room to choosing equipment and optimizing your workflow. Whether you have £500 or £5000 to invest, understanding fundamental principles ensures you maximize every pound spent.
Choosing and Preparing Your Recording Space
Your recording environment impacts sound quality as much as your equipment. Professional studios invest heavily in acoustic design because the room shapes every recording made within it. While you cannot transform a bedroom into Abbey Road Studios, you can significantly improve any space with strategic treatment.
Room Selection Criteria
Spare bedrooms make excellent recording studios. Their modest size works to your advantage, making acoustic treatment more affordable and effective than larger spaces. Avoid rooms with excessive windows, as glass reflects sound aggressively. Carpeted floors help control reflections, whilst hard floors require additional treatment.
Basements offer excellent natural sound isolation from household noise but often suffer from low-frequency build-up and HVAC noise. Converted lofts provide isolation but may introduce structural vibration issues. Consider noise isolation both ways: preventing outside sounds from contaminating recordings and preventing your recordings from disturbing others.
Fundamental Acoustic Treatment
Acoustic treatment addresses two primary issues: reflections that colour your recordings and standing waves that create uneven frequency response. Professional acoustic foam panels absorb mid and high-frequency reflections. Place panels at first reflection points: the walls where sound from your monitors bounces before reaching your ears.
Bass traps in room corners control low-frequency energy that accumulates in these areas. Low frequencies carry tremendous energy and prove difficult to control, making bass traps your most important acoustic investment. Quality bass traps dramatically improve mix translation and reduce the muddiness common in untreated rooms.
DIY solutions work remarkably well for modest budgets. Rigid fiberglass or mineral wool panels wrapped in acoustically transparent fabric perform comparably to expensive commercial products at a fraction of the cost. Heavy curtains, thick rugs, and strategically placed bookcases filled with books provide meaningful acoustic improvement.
Essential Equipment: Core Components
Every recording studio requires certain fundamental equipment. Your specific needs vary based on what you're recording, but these core components form the foundation of any setup.
Computer and Recording Software
Your computer serves as the heart of your studio. Modern Digital Audio Workstations demand substantial processing power, RAM, and fast storage. For music production, aim for at least 16GB RAM, a modern multi-core processor, and SSD storage for your operating system and sample libraries.
Mac computers remain popular in audio production for their stability and optimized performance, though Windows systems offer excellent value and capability. Ensure your computer has sufficient USB, Thunderbolt, or other connectivity for audio interfaces and external drives.
Digital Audio Workstations vary in price and capability. Pro Tools remains the industry standard for professional music and post-production. Logic Pro X offers tremendous value for Mac users. Ableton Live excels for electronic music and live performance. Reaper provides professional features at just £60. For beginners, free options like GarageBand (Mac) or Cakewalk (Windows) offer surprisingly capable feature sets.
Audio Interface: The Critical Connection
Audio interfaces convert analog signals from microphones and instruments into digital audio your computer processes. They also convert digital audio back to analog for monitoring. Interface quality dramatically impacts recording fidelity.
For solo recording, a two-input interface suffices. The Focusrite Scarlett 2i2 delivers excellent preamps, reliable drivers, and clean conversion at £150. PreSonus AudioBox and Behringer U-Phoria interfaces provide budget alternatives. For multi-track recording, consider interfaces with more inputs like the Scarlett 18i20 or MOTU UltraLite.
Prioritize interfaces with quality preamps and converters over excessive features. Clean gain, low noise floor, and stable drivers matter more than bundled software or flashy features.
Microphones: Capturing Sound
Microphone choice depends entirely on what you're recording. Large-diaphragm condenser microphones like the Audio-Technica AT2020 or Rode NT1-A excel for vocals, acoustic instruments, and voice-over work. They capture detail and presence that bring recordings to life.
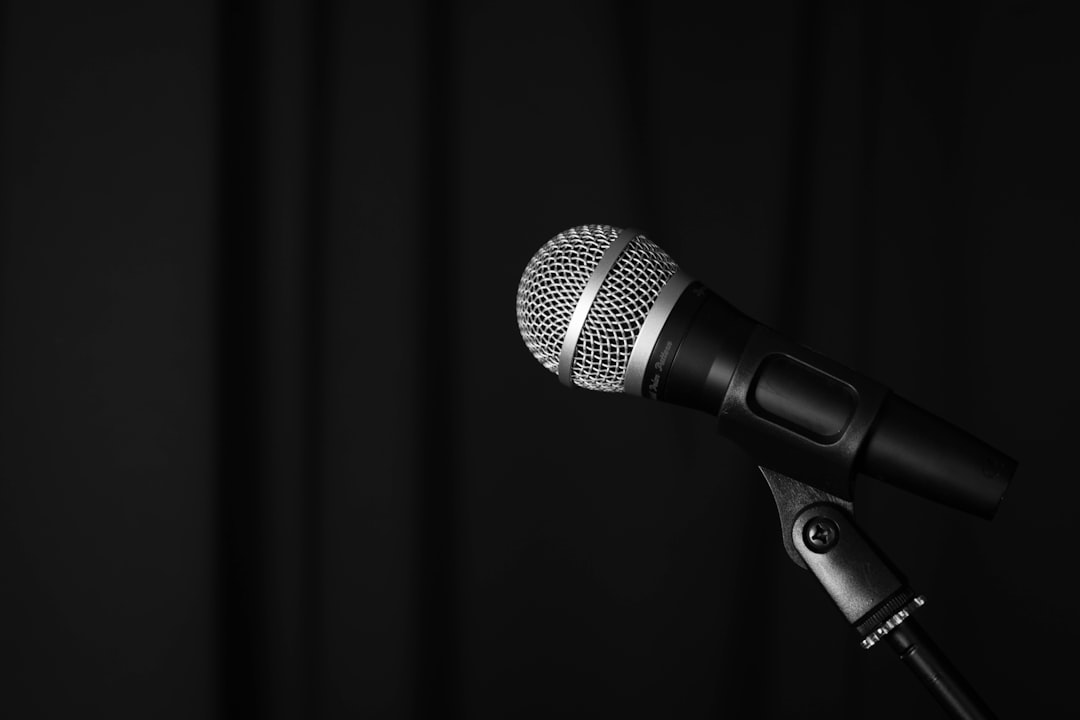
Dynamic microphones like the Shure SM57 and SM58 handle high sound pressure levels and reject background noise, making them ideal for loud sources like guitar amplifiers and drums. The SM57 particularly has recorded countless hit records despite costing under £100.
For comprehensive studios, consider acquiring both condenser and dynamic microphones to handle diverse recording situations. Start with one quality microphone that suits your primary recording needs, then expand your collection as budget allows.
Studio Monitors: Honest Playback
Studio monitors provide accurate sound reproduction essential for making informed mixing decisions. Consumer speakers colour audio to sound pleasing, whilst studio monitors reveal recordings honestly, warts and all.
The KRK Rokit series offers accessible entry into reference monitoring. Yamaha HS series monitors provide famously honest reproduction trusted by professionals worldwide. Adam Audio T-series delivers exceptional detail and accuracy for intermediate budgets.
Monitor placement dramatically impacts what you hear. Position monitors at ear height, angled toward your listening position, forming an equilateral triangle with your head. Maintain distance from walls, or use monitor isolation pads to reduce vibration transfer and boundary interference.
Headphones: Alternative Monitoring
Quality headphones complement monitors, providing detailed listening for editing and alternative perspective for mixing. Closed-back headphones like Audio-Technica ATH-M50x prevent sound leakage during recording whilst providing accurate monitoring.
Open-back headphones like Beyerdynamic DT 990 Pro or Sennheiser HD 600 offer more natural sound for mixing but leak audio, making them unsuitable during recording sessions. Many engineers use closed-back headphones for tracking and open-back for mixing.
Budget-Specific Studio Builds
The £500 Starter Studio
Computer: Use existing laptop or desktop
Interface: Focusrite Scarlett Solo (£100)
Microphone: Audio-Technica AT2020 (£90)
Headphones: Audio-Technica ATH-M40x (£90)
DAW: Reaper (£60) or free options
Cables & Stand: £50
Basic acoustic treatment: DIY panels (£100)
This modest setup enables professional-quality recordings of vocals, acoustic instruments, and voice-overs. Focus on developing recording technique and learning your DAW before expanding equipment.
The £2000 Intermediate Studio
Computer: Dedicated desktop or laptop (£800)
Interface: Focusrite Scarlett 2i2 3rd Gen (£150)
Microphones: Rode NT1-A + Shure SM57 (£250)
Monitors: Yamaha HS5 pair (£350)
Headphones: Beyerdynamic DT 770 Pro (£130)
DAW: Logic Pro X or Ableton Live (£200)
Acoustic treatment: Commercial panels + bass traps (£400)
Cables, stands, pop filter, accessories (£120)
This configuration provides versatility for diverse recording projects with room for growth. The combination of condenser and dynamic microphones handles most recording situations professionally.
The £5000 Professional Studio
Computer: High-spec Mac or Windows workstation (£2000)
Interface: Universal Audio Apollo Twin X (£800)
Microphones: Neumann TLM 102 + Shure SM7B + Rode NT5 pair (£1200)
Monitors: Adam Audio T7V pair (£500)
Headphones: Beyerdynamic DT 770 + Sennheiser HD 650 (£350)
DAW: Pro Tools perpetual license (£500)
Comprehensive acoustic treatment (£800)
Quality cables, stands, preamp, accessories (£350)
This professional setup competes with commercial studios for recording quality. The Universal Audio interface includes DSP processing for tracking with professional effects in real-time, whilst the microphone selection handles virtually any recording scenario.
Workflow Optimization and Organization
Equipment represents only part of an effective studio. Optimized workflow and proper organization multiply your productivity and creativity.
Template Creation
Create DAW templates for common project types. A podcast template with tracks configured, effects loaded, and routing established saves setup time for every episode. Music production templates with favourite virtual instruments and effects loaded accelerate creative sessions.
Sample and Preset Management
Organize sample libraries and presets logically. Create folder structures that make sense for your workflow. Tag samples and presets with descriptive metadata enabling quick searches. Time invested in organization pays dividends throughout your creative life.
Cable Management
Proper cable management prevents noise issues, reduces setup time, and creates a professional environment. Label both ends of every cable. Use cable ties or velcro straps to bundle cables neatly. Separate power cables from audio cables to minimize electromagnetic interference.
Expanding Your Capabilities
Start with core equipment, then expand strategically based on actual needs rather than perceived gaps. Real project requirements reveal where investment delivers genuine value.
Virtual Instruments and Plugins
Modern software instruments and effects provide capabilities that previously required thousands in hardware. Quality free plugins exist for virtually every purpose. Gradually invest in professional plugins that address specific needs your free options don't satisfy.
Outboard Gear Considerations
Hardware compressors, equalizers, and preamps offer sonic characteristics difficult to replicate digitally. However, they're expensive and require expertise to use effectively. Master software tools first, then consider hardware that addresses specific sonic goals.
Instruments and Sound Sources
Quality sound sources make mixing easier. A well-maintained acoustic guitar or properly tuned drum kit records more easily than poorly maintained instruments. Consider instrument quality alongside recording equipment when allocating budget.
Continuous Learning and Development
Technology and techniques evolve constantly. Successful studio owners commit to continuous learning through online tutorials, courses, forums, and experimentation.
YouTube offers countless free tutorials covering every aspect of recording. Platforms like Skillshare, Coursera, and dedicated audio education sites provide structured learning paths. Audio engineering forums like Gearslutz (now Gearspace) connect you with experienced professionals willing to share knowledge.
Most importantly, practice consistently. Record regularly, experiment with techniques, and learn from both successes and failures. Technical knowledge means nothing without practical application.
Common Mistakes to Avoid
New studio builders often make predictable mistakes. Learning from others' errors saves money and frustration.
Don't neglect acoustic treatment while overspending on equipment. Modest gear in a treated room outperforms expensive equipment in untreated spaces. Allocate 15-20% of your studio budget to acoustic treatment.
Avoid buying equipment before understanding whether you need it. Rent or borrow gear to verify it addresses actual needs before purchasing. Gear acquisition syndrome wastes money on equipment that gathers dust.
Don't expect equipment to compensate for lack of skill. Invest time developing recording, mixing, and production skills. Quality results come from skilled operators using modest gear more than novices using expensive equipment.
Final Thoughts on Studio Building
Building a home recording studio is a journey rather than a destination. Technology evolves, your needs change, and your skills develop. Start with foundational equipment that enables productive work, then expand thoughtfully based on real project requirements.
Remember that legendary recordings have been made in modest spaces with limited equipment. Your creativity, dedication, and skills matter far more than your equipment list. A well-planned modest studio enables professional work, whilst an poorly planned expensive studio frustrates rather than inspires.
Focus on creating consistently, learning constantly, and improving gradually. Your studio serves your creative vision. Build it thoughtfully, use it productively, and let your work speak for itself.